Do you love the versatility of the Raspberry Pi but wish it had better, louder sound without messy wires and external amplifiers?
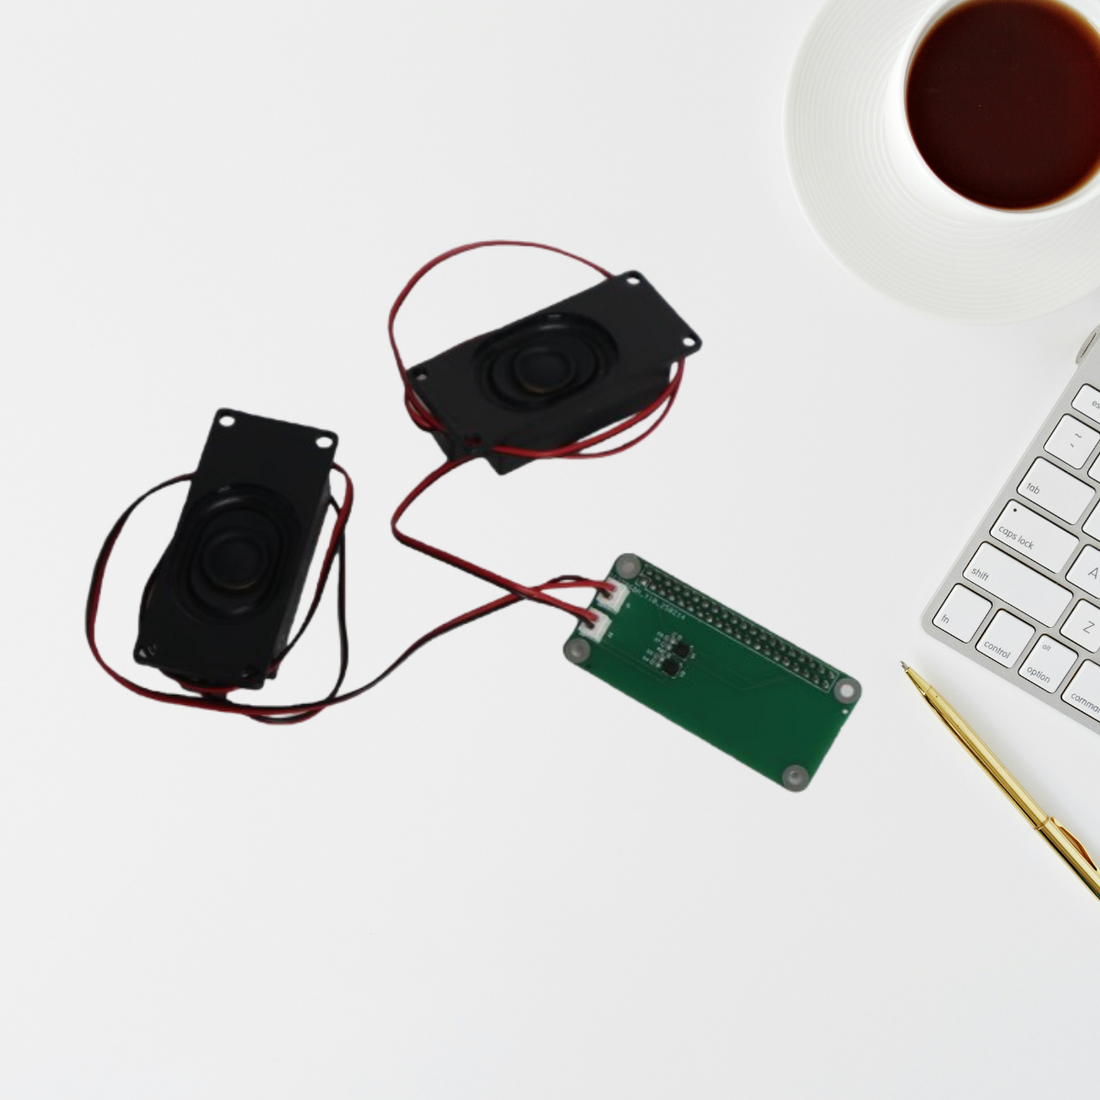
The standard Raspberry Pi is fantastic for DIY projects, but its built-in audio capabilities are severely limited. Our new Raspberry Pi Audio HAT MAX98357 solves this problem instantly, providing a powerful, integrated audio solution complete with two dedicated speakers. This HAT (Hardware Attached on Top) transforms your single-board computer into a genuine, portable media player or a dedicated sound system for your retro console.
Why the MAX98357 HAT Is the Ultimate Audio Upgrade
This isn't just a simple headphone jack—it's a complete, integrated stereo solution designed specifically for makers.
-
Integrated Amplification (MAX98357): This HAT utilizes the highly efficient, low-power MAX98357 stereo codec chip. This chip handles both decoding the digital audio and amplifying it, allowing the board to directly drive speakers without any external amplifier required.
-
True Stereo Sound: With Dual MAX98357 Codec Implementation, the HAT achieves true stereo audio output via the crystal-clear I2S digital audio interface.
-
40-Pin GPIO Connectivity: Designed for direct, secure integration, it fits neatly onto the 40-Pin GPIO header of any modern Raspberry Pi, making it a clean, compact audio solution.
- Ready-to-Go Speakers: The package includes two high-quality 4 ohm, 3W speakers (with 60cm cables) that connect directly to the integrated PH2.0 speaker terminals. Everything you need is in the box.
Technical Specifications at a Glance
This HAT is built for clean, powerful sound in a small form factor:
Simple Setup: Get Audio Working in Minutes
The hardware is plug-and-play, but you need to tell your Raspberry Pi’s operating system to use the new MAX98357 sound card.
1. Connect the Hardware
Important: Before you start, ensure your Raspberry Pi is powered off to avoid any hardware damage.
-
Gently mount the HAT onto the 40-pin GPIO header.
-
Connect the two included speakers to the PH2.0 speaker interfaces.
2. Configure the Software
Once the hardware is connected, power on your Pi and open the configuration file:
sudo nano /boot/config.txt
Scroll to the end of the file and append the following line:
dtoverlay=max98357a
3. Reboot the System
Save the file, exit the text editor, and run the following command to reboot:
sudo reboot
That's it! Your Raspberry Pi is now set up to deliver loud, clear, stereo audio directly to the included speakers.
Ready to upgrade your Raspberry Pi's sound system? The Raspberry Pi MAX98357 Audio HAT MAX98357 is the perfect compact solution for your next powerful, portable audio build!