Are you tired of the low-fidelity audio output from your standard Raspberry Pi? If you're building a retro console, media center, or streaming device, sound quality matters! The solution is simple: integrate a dedicated Digital-to-Analog Converter (DAC).
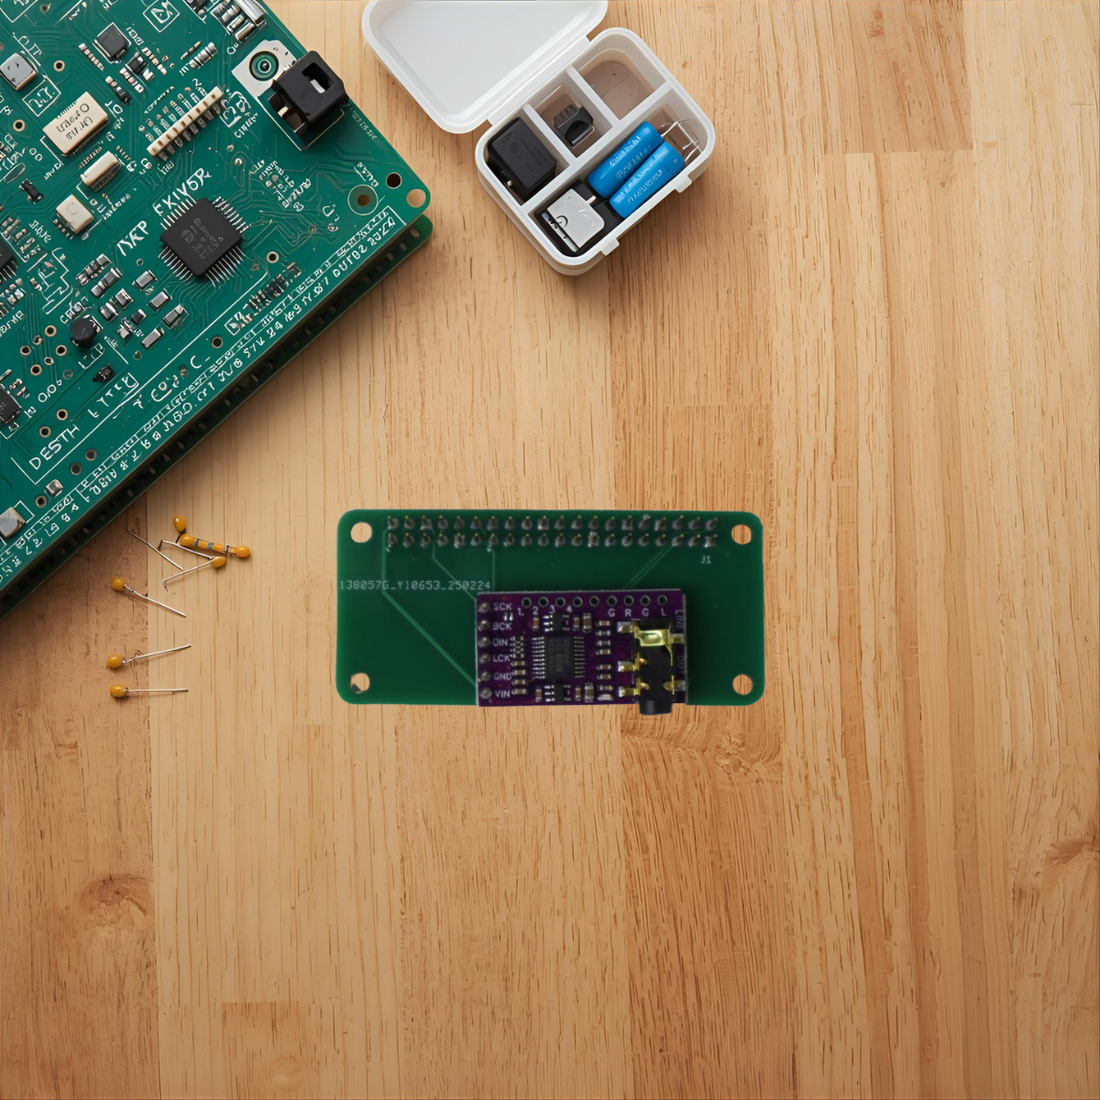
Our PCM5102A Audio HAT is the perfect way to turn your Raspberry Pi into a genuine high-quality audio player.
What is a DAC HAT and Why Do I Need One?
The standard audio output on most Raspberry Pi models uses a basic analog signal from the motherboard, which often results in noise, low volume, and a flat sound profile.
The PCM5102A Audio HAT solves this problem by utilizing the powerful PCM5102A stereo DAC module.
-
Digital Audio Quality: Instead of using the Pi's basic analog signal, the HAT communicates digitally via the I2S interface. This dedicated communication pathway bypasses the noisy on-board hardware, resulting in high-quality digital audio output.
-
Plug and Play Design: This board is specifically designed to fit directly onto the Raspberry Pi 40-pin GPIO interface, making installation simple and compatible with the entire Raspberry Pi series of motherboards.
Key Features That Enhance Your Build
Whether you're a seasoned maker or a beginner, this Audio HAT offers features that make it a compelling upgrade:
Quick Setup: Activating Your New Audio Card
Installation is hardware plug-and-play, but you need to tell the Raspberry Pi operating system to use the new DAC. It only takes two simple command lines!
1. Edit the Configuration File
Connect the HAT to your Raspberry Pi while the power is off. Once connected, boot up your Pi and open the configuration file:
sudo nano /boot/config.txt
Scroll to the very end of the file and add the following line:
dtoverlay=hifiberry-dac
2. Reboot the Raspberry Pi
Save the file, exit the text editor, and reboot your system to apply the changes:
sudo reboot
That’s it! Your Raspberry Pi should now be routing all audio through your new PCM5102A DAC HAT.
⚠️ Important Precaution
Remember to always ensure the Raspberry Pi is powered off before connecting or disconnecting the HAT to avoid any hardware damage.
Ready to hear the difference high-fidelity audio makes? Upgrade your project today